Last Updated on May 10, 2022 by Carlo Dach
Windows 10 has a Settings window to configure printers, although you can also use the previous Control Panel interface or tools for that. That will help you to install and configure printers, manage print jobs, and help with troubleshooting.
Table of Contents
Steps to Add a New Printer
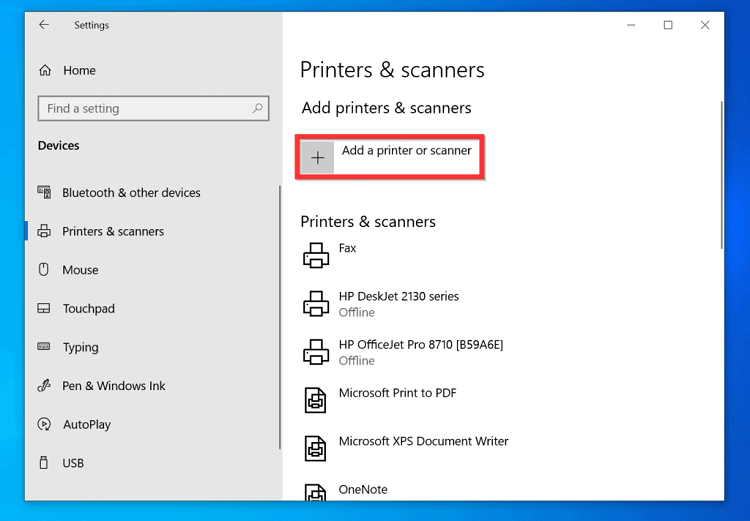
For that, navigate to Settings> Devices and select Printers and Scanners. Click on the button Add a printer or scanner to search for printers attached to your computer or available on the network.
You should be able to see the name of your printer pop up here. In case the OS does not find it automatically, click The printer that I want isn’t listed. This reveals the previous Add Printer dialog box, which lets users scan for an old type of printer, connect to a network printer, and add the device with custom settings.
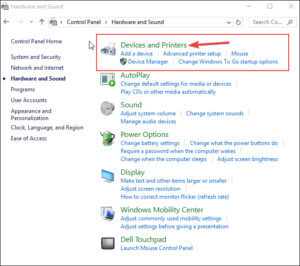
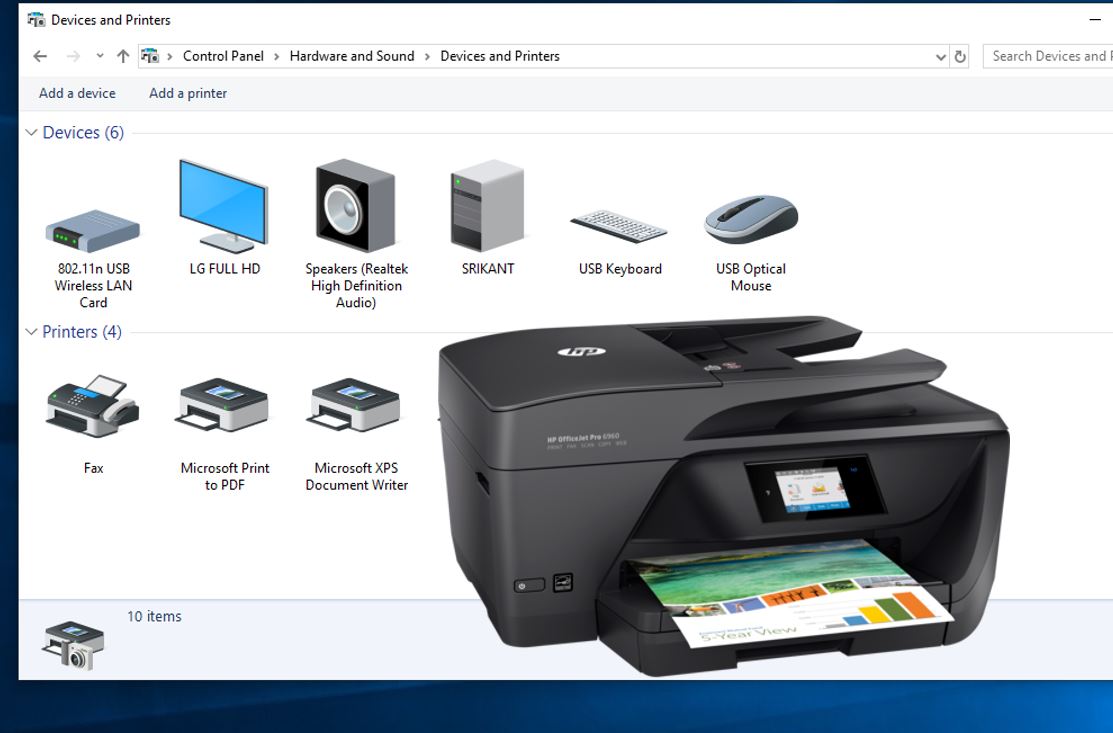
You can use the previous interface at Control Panel>Hardware and Sound> Devices and Printers. Click on the button add a Printer to get started.

No matter how you proceed to install a printer, the OS will perhaps download the required driver in the background. In case that does not work, manually download and install the driver of your printer model from its manufacturer’s website. Updating the driver can even resolve the printer not responding error.
Steps to Change your Printing Preferences
To change it, navigate to Settings >Devices >Printers and Scanners. In the interface of Settings, click on the printer, and select Manage. Then, click on Printing Preferences in the window of Settings. Here, you will see an array of options to control prints, and settings that you will see depend on what your printer actually supports.

For instance, if yours is a color printer, you will see the options to choose between black & white and color. Besides, you might see options to select the tray from which your printer grabs paper for the task, select the orientation, and change printout quality settings.
Steps to Configure Printer Device Settings
To configure a printer device, right-click on the printer icon, and select Printer Properties, instead of Printing Preferences. The properties window’s General tab provides info about features of your printer and the drivers it is using. You can change the name of your printer or key in location details and comment in the respective fields.
For instance, you might need to enter “First Floor Office” or something likewise so users can see the location of a shared network printer. You can take a test printout by clicking on the button print Test Page.
In the Advanced tab, you will see an option or setting that lets you select when the device is available. For instance, if you need to use the printer only during office hours, you could configure the Available from and To timings. People will not be able to print to it outside the configured timings. This is particularly useful in case you have set the printer as a network printer and do not want others print to the device outside your working hours.
How to Configure a Default Printer
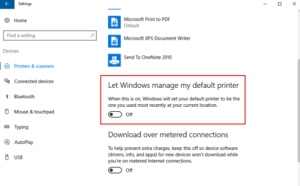
Windows 10 automatically manages which printer is your default one. The Operating System configures the previous device to which you printed as it. In other words, you can print to a device and the OS makes it the default one. You can change this and manage Windows 10 printing issues and/or avoid printing to another device.
- Go to Settings > Devices > Printers and Scanners and deselect the option Let Windows manage my default printer.
- To select the default device, click on your printer in the list of Printers and Scanners, click on Manage, and click on the Set as default
Steps to Manage the Print Queue
When you send a print job to a computer, it is enqueued or stored in the operating system before it is sent to the target printer. Sometimes, you may want to pause the print queue to cease printing temporarily, get rid of print jobs from it to cancel printing the respective documents, or even check whether everything is printed. You can do these all from the window of the print queue.
To open it, navigate through to the Printers and Scanners mentioned above and click on the printer device for which you need to see the queue, and click on Open Print Queue. In the old Control Panel interface, you can also right-click on the printer icon and select See What’s Printing.
You can right-click on a print job and select Pause, Restart, or Cancel accordingly. Sometimes, print jobs tend to get stuck and you may want to remove them if it is stuck and retry printing after a while. If you want an advanced solution to Windows 10 printing issues or anything related to printing, get in touch with our printer service professionals through the toll-free number.


