Last Updated on May 10, 2022 by Carlo Dach

In Windows 10, you can share a printer with several computers on the network. For that, you have to configure sharing settings for your printer, connect the device to the main PC with a USB cable or wirelessly, and turn it on. The system should be powered on and connected to both the network and printer.
Note that when sharing it, you need to ensure that the settings are configured in the main PC and other systems too. Moreover, make certain that you know the main PC’s name. For more information, see the steps to “Configure sharing settings” and “Find the name of the computer
sections at the end of this post.
Table of Contents
Steps to Share the Printer in the Main Computer
There are a couple of methods to do this, as mentioned below. Also note that in case you need, you can edit the printer’s Share name. It is used when connecting to it from a different PC.
- Using Settings
- Select Start, then click on Settings and navigate to Devices > Printers & Scanners.
- Select the printer you need to share, and click on Manage.
- Click Printer Properties, and select the tab titled Sharing.
- In the tab, click on Share this printer.

- Using Control Panel
- In the taskbar’s search box, key in Control Panel and select it.
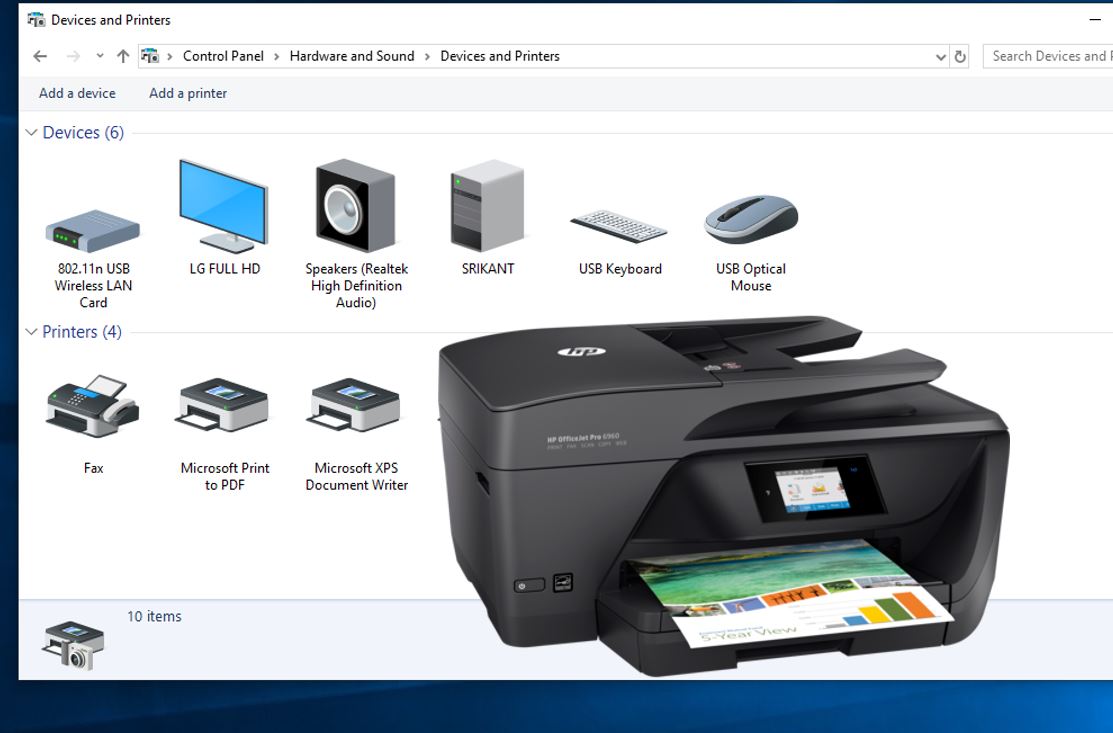
- Below Hardware and Sound, click View devices and printers.
- Right-click on the device you need to share, and click Printer properties.
- On the tab titled Sharing, click on Share this printer.
Steps to Connect the Shared Printer with Another System
- Using Settings
- Select Start, click Settings and go to Devices > Printers & Scanners.
- Under it, click on Add a printer.
- Select the printer you need, and click Add Device.
In case you do not see it, click The printer that I want isn’t listed.

- In the dialog box titled Add printer, click Select a shared printer by name, and enter the name of the main system and the printer’s share name with the format – \\PCname\printername
- When Windows prompts to install the driver of the printer, click on Next to finish the installation.

- Using Control Panel
- In the taskbar’s search box, type Control Panel and click on it.
- Below Hardware and Sound, click View devices and printers, and Add a printer.
- Choose the printer you need, and click on Next. When Windows prompts, install the driver of the printer.
- If you do not see the printer you need, click The printer that I want isn’t listed.
- In the dialog box titled Add a device, choose Select a shared printer by name, and enter the main PC’s name and the share name of the printer using the format – \\PCname\printername
- When prompted to install the printer driver, click on Next to complete it.
Steps to Configure Sharing Settings
The settings that you use to share printer is often enabled by default. In case not, follow the steps mentioned below to turn on the settings.
- Using Settings
- Select Start, click Settings and go to Network & Internet > Wi-Fi.
- Below Related settings, click Change advanced sharing options.
- In the dialog box titled Advanced sharing settings, expand the section titled Private. Then, below Network discovery, click Turn on network discovery.
- Below File and printer sharing, click Turn on file and printer sharing.

If you need assistance with any Windows 10 printing issues or configuration, get in touch with our printer support professionals through the toll-free number for a quick solution.


